TL;DR
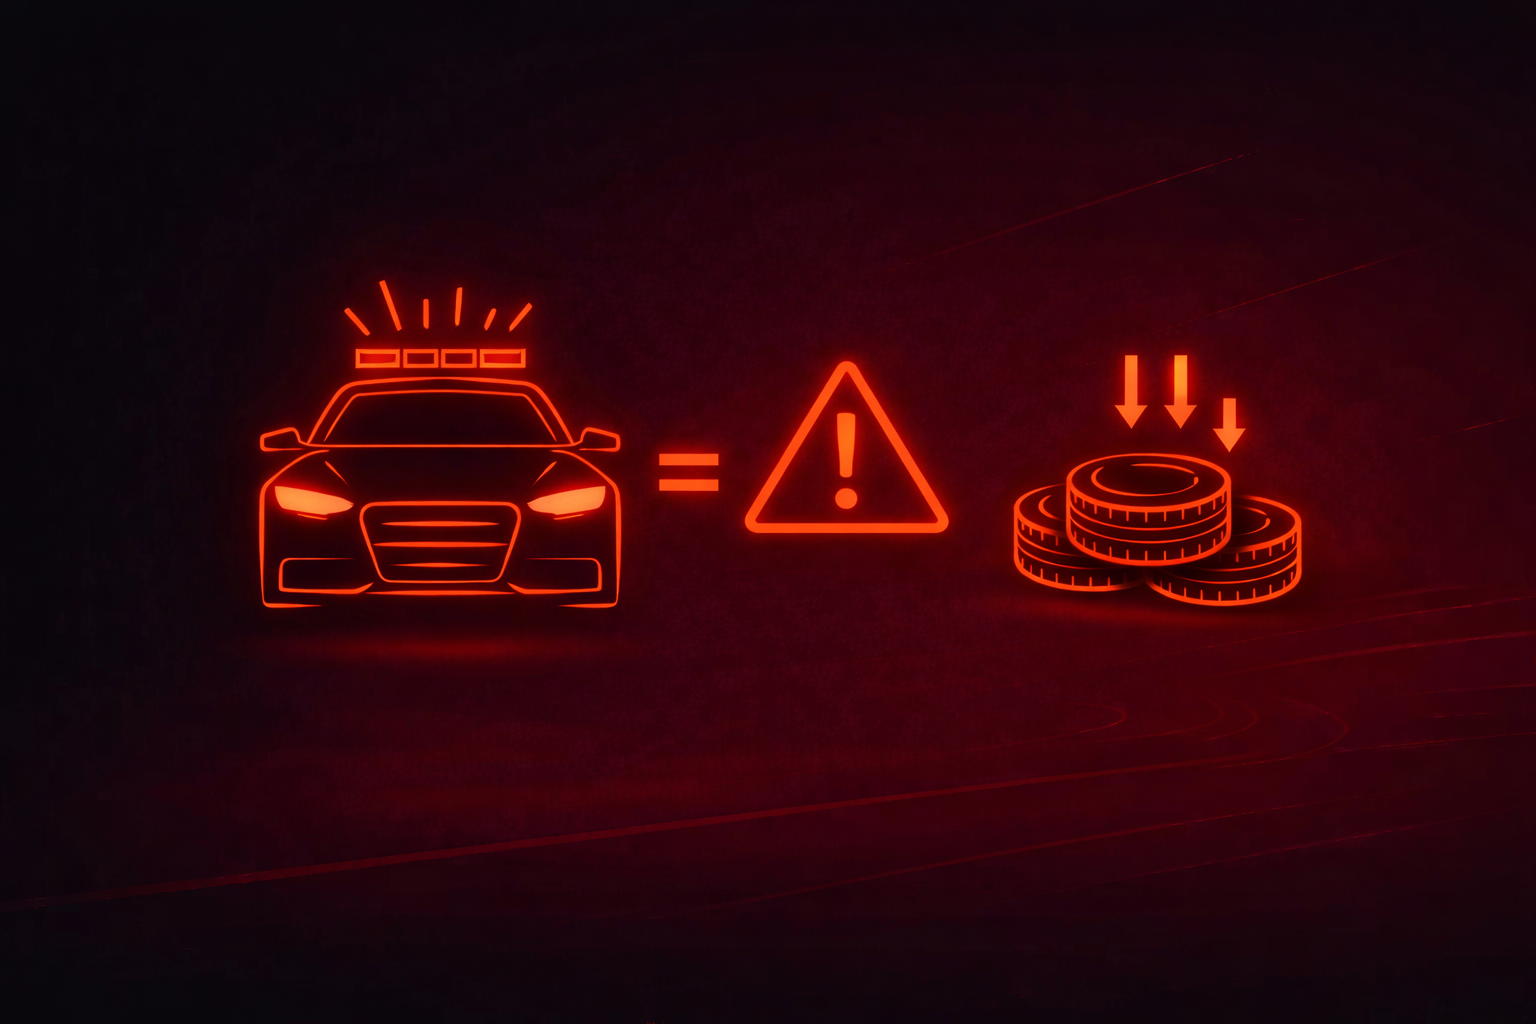
- A Safety Car rewrites strategy because pit loss collapses: you spend less time “paying” for the pit stop while the race is running slowly.
- Field compression turns 20 seconds of “clean air” into “same queue,” so track position and restart timing can outweigh the perfect tyre.
- You’ll learn how to model SC/VSC scenarios as conditional branches (“if SC between laps X–Y…”) instead of pretending you can predict the trigger.
- Run your own pit-window stress test in the Tyre Strategy Simulator by comparing a normal-green stop to a Safety Car stop at the same lap.
F1 strategy is often explained as tyre choice plus pace. In practice, it’s tyre choice plus timing, and nothing changes timing faster than a Safety Car. The moment race speed drops and gaps compress, the “cost” of a pit stop can fall sharply, and the value of track position can spike. That’s why the best way to think about Safety Cars in a calculator or simulator isn’t “who benefits?” but “what variables just changed, instantly?” This post breaks down those variables in a model-friendly way, so you can run scenarios in the Tyre Strategy Simulator and interpret the outputs without treating them like predictions.
What a Safety Car changes in a simulator (and why it’s immediate)
A tyre strategy model is usually built around a few big moving parts: lap-time profiles (degradation and warm-up), pit lane time loss, traffic/clear-air penalties, and constraints (minimum compounds used, stint length limits, etc.). Under green-flag conditions, these inputs are relatively stable: the pit loss is “big,” the field is spread, and overtakes are costly. That’s why the model often “cares” about undercuts, clean-air laps, and hitting a narrow pit window.
A Safety Car interrupts that stability. Race speed drops, everyone is forced into the same delta, and gaps that previously protected you from an undercut can vanish. In modelling terms, it’s not a subtle adjustment—it’s a regime change. The simulator’s job isn’t to magically know when an SC will happen; it’s to tell you what your plan looks like if it happens at a given time.
The two biggest instant effects you should model are pit delta collapse (stopping becomes cheaper) and field compression (gaps stop meaning what they used to mean). Everything else—tyre choice, degradation, warm-up, even “optimal” pit windows—starts to orbit those two.
Pit delta collapse: why a pit stop becomes “cheap” under SC/VSC
Under green-flag racing, the pit stop cost is basically: time spent driving through pit lane + stationary time + time to rejoin, minus the time you would have spent staying on track at full pace. That “minus” term is what makes green-flag stops expensive: while you’re trundling through the pit lane at the limiter, your rivals are lapping quickly.
Under a Safety Car (and often under a Virtual Safety Car, to a lesser extent), the “rivals lapping quickly” assumption breaks. The entire field is circulating slowly, so the opportunity cost of being in the pits is smaller. In many races, this is the single most powerful strategy swing: a stop that would normally drop you behind multiple cars can become a stop that drops you behind none, or maybe one.
How to use this in the Tyre Strategy Simulator: treat pit loss as scenario-dependent, not a single number. Run the same stint plan twice—once with your normal green-flag pit loss, and once with a reduced “SC pit loss.” You’re not trying to guess the exact seconds; you’re checking whether your race is sensitive to the pit-loss assumption. If the “best” strategy flips just by changing pit loss, you’ve learned something crucial: your plan is timing-dominated, not tyre-dominated.
The common misunderstanding: “Safety Car = free stop”
A Safety Car stop is rarely truly free. Even if the delta is reduced, you still pay some time, and you also pay in position risk: if multiple cars pit at once, you can stack, get boxed in, or rejoin into a queue you can’t pass. A good simulator output shouldn’t be read as “pit now, it’s free,” but as “pit now is less costly than it usually is, given these assumptions.”
Field compression: why your pre-SC gaps stop mattering
The second immediate change is that the race’s geometry collapses. A 3–5 second gap that protected you from an undercut becomes irrelevant if the field is compressed behind the Safety Car. That has three modelling consequences that show up clearly when you simulate.
First, track position gets stickier. If cars are nose-to-tail at the restart, the ability to pass depends more on tyre delta, deployment, and risk tolerance than on your “theoretical” race-time optimum. Second, the value of clean air laps often decreases. You can’t bank a big pace advantage if everyone is circulating slowly and then restarts together. Third, the model’s “best” tyre can become the tyre that wins you the first 2–5 laps after the restart, because that’s when positions change most.
How to use this in the Tyre Strategy Simulator: explicitly compare strategies that are close on total time but different on restart quality. If your tool allows you to adjust warm-up and early-lap pace, push those parameters and see how the outcome changes. When the field compresses, the slope of your first flying laps after a restart can matter more than your long-run degradation rate.
Why timing dominates tyre choice (and how to read that correctly)
People talk about “the right tyre for the restart,” and there’s truth in that—but it can become a distraction. The bigger question is often: did you get to take your stop under reduced pit loss, and did you avoid giving away track position in the queue?
In other words, tyre choice is frequently second-order to timing. The tyre determines what you can do after the timing decision; the timing decision determines whether you’re fighting for P6 or P11.
A practical way to interpret simulator outputs is to separate your decision into two layers:
Layer 1 (timing): Do you stop now under SC/VSC, or do you stay out and protect position?
Layer 2 (tyre): Given that you’re stopping now (or later), what compound maximises your objective—race time, track position security, or overtake potential?
When you run scenarios in the Tyre Strategy Simulator, you’re usually trying to answer Layer 1 first. If the model says that any tyre looks good when you pit under SC, that’s the point: the advantage is the cheap stop, not the compound’s magic.
Modelling SC risk without pretending you can predict it
A strong F1 calculator doesn’t claim to know whether an SC will happen. It helps you plan for the fact that it might, and that the payoff is nonlinear.
The simplest, most actionable approach is to model Safety Cars as time windows, not as a single lap. Instead of “SC on lap 23,” test “SC between laps 15–20,” “SC between laps 21–30,” and “no SC.” This turns your strategy into a decision tree: your baseline plan under green, plus your pivot points if the race state changes.
In the Tyre Strategy Simulator, that means you should keep your base inputs stable (degradation, pit lane loss under green, typical traffic penalty), then only change the SC-specific terms when you branch the scenario. If you change everything at once, you’ll get noise instead of insight.
VSC vs SC: similar direction, different magnitude
From a modelling perspective, VSC and SC often push in the same direction—reduced effective pit loss—but they don’t usually compress the field in the same way. That distinction matters because it changes whether your “gain” is mostly time (cheaper stop) or time plus position (restart queue dynamics). If your tool lets you represent both, treat VSC as “partial pit-loss collapse, minimal compression” and SC as “big pit-loss collapse, big compression.”
Strategy consequences that fall out of these two effects
When you combine pit delta collapse and field compression, a few recurring patterns appear in simulations, even with conservative assumptions.
One-stop strategies can lose their stability because the main reason to one-stop is often to avoid paying a second green-flag pit loss. Under SC, the second stop can become affordable, which can make a two-stop (or an earlier first stop) viable. The simulator may “discover” that what looked like an impossible extra stop becomes competitive if one of those stops is taken under SC conditions.
Undercuts and overcuts also change character. The undercut’s classic advantage—fresh tyres at full speed—shrinks when full speed is removed. The overcut’s classic advantage—staying out in clean air—shrinks when the field is neutralised. In many SC windows, the model’s decision hinges less on tyre delta and more on whether pitting drops you into (or out of) a DRS train after the restart.
Finally, Safety Cars amplify uncertainty, not reduce it. The restart creates a high-variance phase: cold tyres, changing grip, different warm-up behaviour by compound, and higher incident risk. A good simulation output should be read as “best under these assumptions,” and you should stress-test those assumptions by changing warm-up, traffic penalties, and restart lap-time deltas rather than obsessing over a single “optimal” line.
How to run a Safety Car scenario in RaceMate (a practical workflow)
Start with your best estimate of a green-flag race: expected pit windows, tyre degradation rates, and a realistic green pit loss. Then duplicate the scenario and introduce a Safety Car at a plausible window by reducing pit loss and applying compression assumptions (or approximating compression via traffic/position sensitivity if that’s how you model it).
The key is to compare differences, not absolute “predictions.” If Strategy A beats Strategy B by 2 seconds under green, but loses by 8 seconds under a mid-race SC, you’ve learned that your plan is fragile to neutralisations—and that you should define a pivot rule (“if SC before lap X, we pit; if after lap X, we protect track position”). That’s exactly the kind of decision-making a calculator is for.
Run this exact comparison in the Tyre Strategy Simulator. Don’t aim for certainty; aim for a plan that stays coherent when the biggest timing shock in F1 arrives.
Conclusion
Safety Cars change strategy instantly because they collapse pit delta and compress the field—two shifts that can outweigh the “perfect” tyre choice. The productive way to use an F1 strategy calculator is to treat SC/VSC as branching scenarios, then test whether your plan is timing-sensitive or tyre-sensitive under reasonable assumptions (including no fastest-lap bonus from 2025 onwards). If you want a clear, model-driven way to do that, run your Safety Car windows and pivot rules in the Tyre Strategy Simulator.